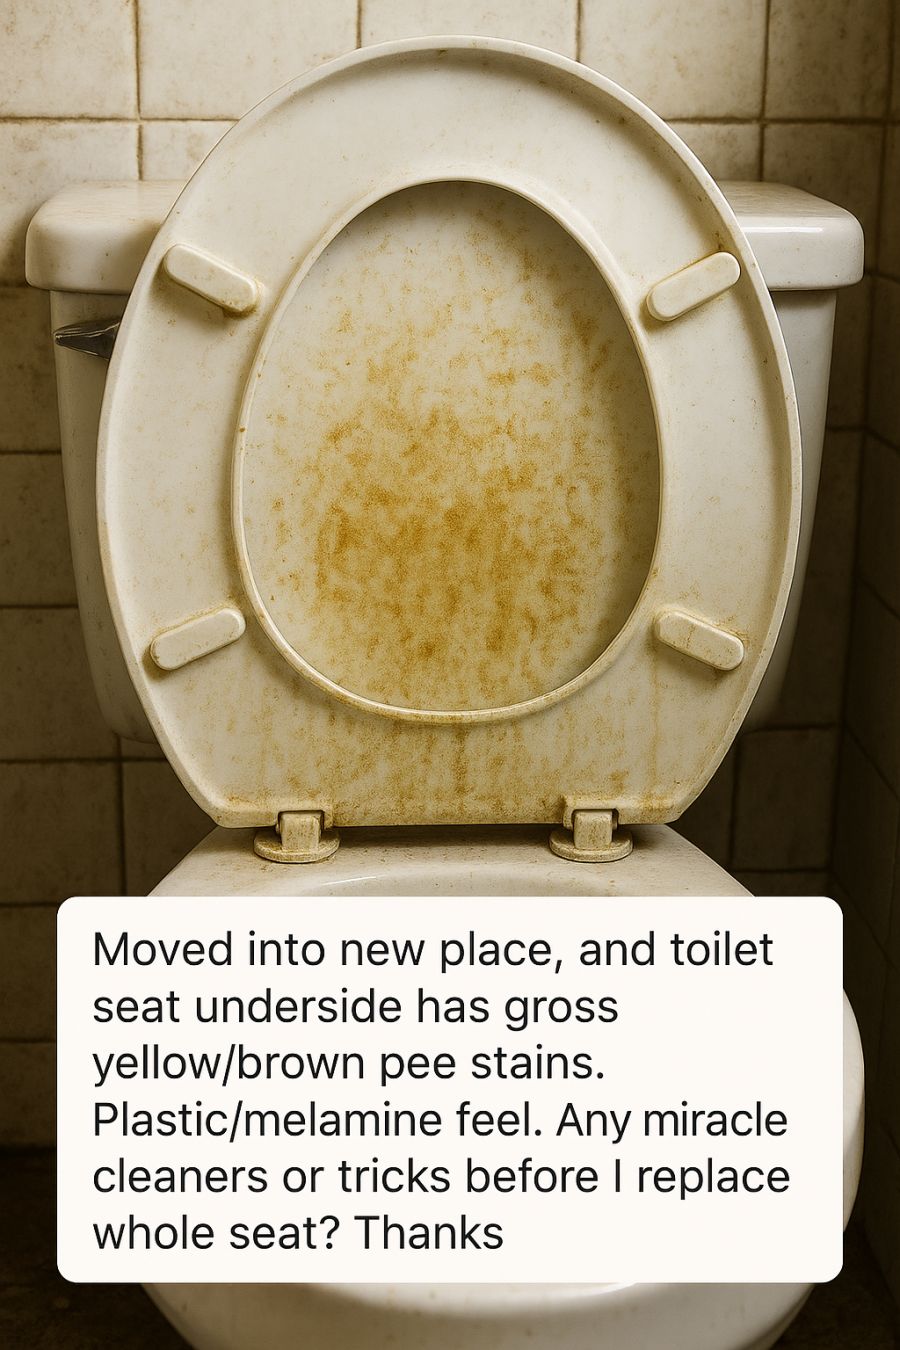
Moving into a new home is an exciting milestone, full of opportunities to make the space your own. Unfortunately, it can also come with a few unwelcome surprises—like discovering stubborn stains on a toilet seat left behind by previous occupants. While it’s not the most glamorous part of settling in, addressing these issues quickly can help you feel more comfortable and at ease in your new space.
Toilet seats—especially those made from plastic or melamine—can develop yellow or brown stains that are unpleasant to look at and can impact the overall cleanliness of your bathroom. Before replacing the seat entirely, it’s worth trying a few effective cleaning methods. This guide walks you through practical tips and tricks to tackle stubborn stains and restore your toilet seat without unnecessary expense.
1. Why Toilet Seats Get Those Stubborn Yellow-Brown Stains
Toilet seats commonly develop yellow-brown stains due to prolonged exposure to urine and hard water minerals. When urine dries on the surface, uric acid crystals can bond with the seat material, particularly if cleaning is infrequent. Over time, this leads to discoloration that becomes increasingly difficult to remove.
Hard water also plays a role. Minerals such as calcium and magnesium can build up on bathroom surfaces and react with soap residue, creating tough stains. Plastic and melamine seats are especially prone to this issue because tiny pores or scratches can trap residue.
2. When to Clean Versus When to Replace the Seat
Whether to clean or replace a toilet seat depends on the severity of the staining and the seat’s overall condition. If the seat is structurally sound and the stains appear superficial, cleaning is a sensible first step. However, if the seat is cracked, deeply scratched, or the stains are etched into the material, replacement may be the better option.
Basic toilet seats can be relatively inexpensive, while higher-end models cost more. If cleaning attempts don’t produce acceptable results, replacing the seat may be the most hygienic and visually satisfying solution.
3. Start Simple: Soap, Hot Water, and a Non-Scratch Scrub
Begin with the gentlest method. Mix mild dish soap with hot water and use a non-scratch scrub pad to clean the underside and surface of the seat. This approach works well for light stains and general grime.
Rinse thoroughly with clean water to remove soap residue. This method is safe for plastic and melamine and is environmentally friendly. If stains remain, move on to stronger solutions.
4. The Classic Power Combo: Baking Soda and White Vinegar Paste
Sprinkle baking soda generously over the stained areas, then apply white vinegar. The fizzing reaction helps loosen and lift stains.
Allow the mixture to sit for 10–15 minutes, then scrub with a non-scratch pad or brush. Rinse thoroughly. This method is effective, inexpensive, and non-toxic.
5. Hydrogen Peroxide and Baking Soda for Deep Stain Lifting
For tougher stains, mix baking soda with hydrogen peroxide to form a thick paste. Apply it to the stained areas and let it sit for about 20 minutes.
Hydrogen peroxide acts as a mild bleaching agent, while baking soda helps scrub away residue. After scrubbing, rinse well with water. This method is especially helpful for older or more deeply set stains.
6. Magic Eraser Hacks for Plastic and Melamine Seats
Magic Erasers can effectively remove stubborn stains thanks to their melamine foam structure, which acts like ultra-fine sandpaper.
Wet the eraser and gently scrub the stained areas, using light pressure to avoid dulling the surface. Wipe clean with a damp cloth afterward.
7. Enzyme Cleaners to Break Down Old Urine Residue
Enzyme cleaners are designed to break down organic material, making them ideal for urine-based stains. The enzymes digest the proteins responsible for discoloration and odor.
Apply according to the manufacturer’s instructions, allow time for the enzymes to work, then scrub and rinse. These cleaners are commonly used in professional settings for tough bathroom stains.
8. Bleach: When It Helps, When It Hurts, and How to Use It Safely
Bleach can be effective but should be used cautiously. It can whiten plastic but may also cause discoloration or damage if overused.
Dilute bleach (about 1 part bleach to 10 parts water), apply to stains, let sit for no more than 10 minutes, then scrub gently and rinse thoroughly. Avoid using bleach on colored seats and always test a small area first.
9. Viral TikTok Tricks: Plastic Wrap and Overnight Soaking
Some viral cleaning methods involve covering a cleaning solution with plastic wrap to prevent evaporation and allow deeper penetration.
For severe staining, removing the seat and soaking it overnight in warm water with vinegar or another cleaner can be effective. Scrub thoroughly the next day to remove loosened residue.
10. Dealing With Etched-In Discoloration
If stains are etched into the surface, they may be permanent due to material aging or damage. While some methods may lighten the appearance, full removal may not be possible.
Plastic-safe spray paint can be a temporary cosmetic fix, but it may not withstand regular use. In many cases, replacing the seat is the most practical solution.
11. Choosing a Replacement Seat: What to Look For
When replacing a toilet seat, consider material, color, and ease of cleaning. Plastic seats are affordable and low-maintenance, while wood or bamboo options offer a more decorative look but require extra care.
Look for features like quick-release hinges, antimicrobial coatings, and smooth finishes that resist staining and simplify cleaning.
12. Preventing Future Stains in Your New Home
Establish a weekly cleaning routine using mild cleaners to prevent stains from setting. Closing the lid when flushing and wiping the seat regularly can also help.
If you have hard water, consider a water softener or periodic descaling to reduce mineral buildup. With a little maintenance, you can keep your bathroom clean, welcoming, and stain-free—helping your new home feel truly comfortable and complete.
